Essential Free Shipping bar is designed to increase your customer’s average order value by offering free shipping once they reach a pre-set threshold. It’s not only aesthetically pleasing but also highly customizable and focused on maximizing revenue. Let’s get started with setting it up for your store. Watch this video tutorial, or follow the steps provided bellow.
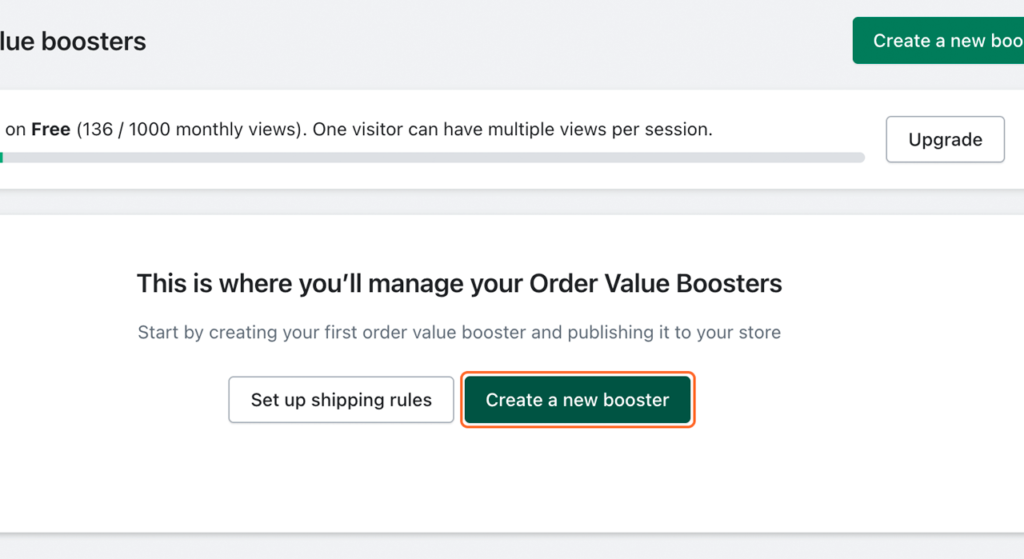
First, ensure the app is installed. Go to Shopify app store and click “Install”. Then, head to the app dashboard and click on ‘Create a new booster.’
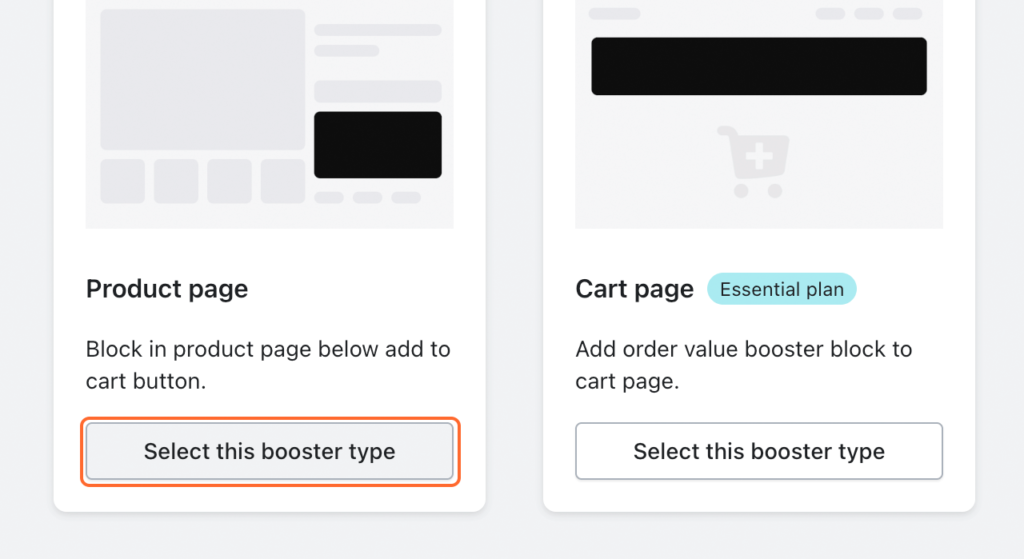
Select the free shipping bar type. You have options like the product page, cart page, or a top/bottom bar. The setup for each is similar, so whichever you choose, the following instructions will apply. Our analysis shows that using the cart page booster can significantly increase the average order value. Therefore, I highly recommend trying it out to see the positive impact it can have on your sales. I’ll be using the Product Page type for this demonstration.
Set Free Shipping bar name
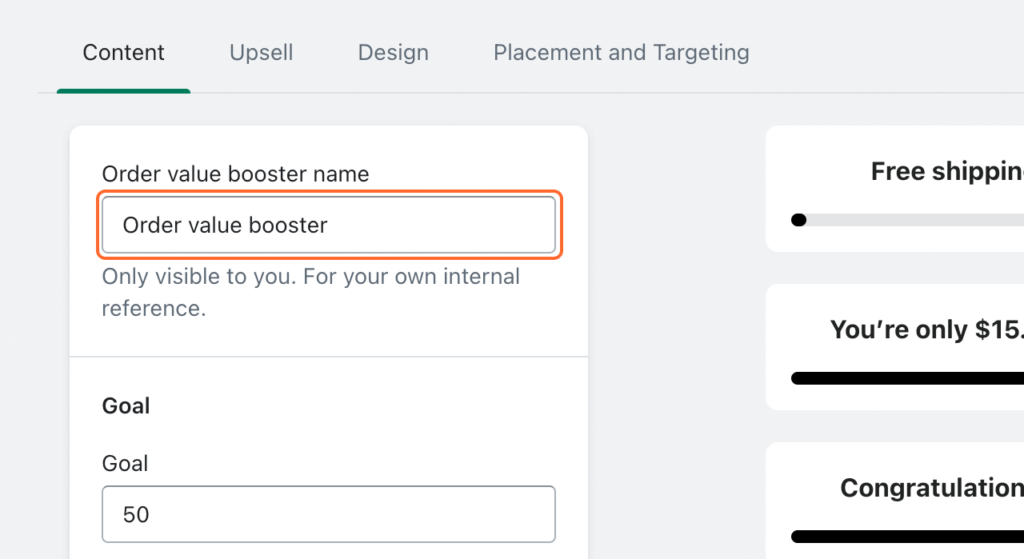
In the ‘Content’ tab, you’ll define your booster’s details. First step is to set your free shipping bar name. This is for your reference within the app.
Set Free Shipping threshold value
Set the cart total that customers need to reach to qualify for free shipping. Remember, our app calculates this based on the total amount in the cart after discounts. Important to note: our app integrates with your store without altering any existing settings. This means you’ll need to manually adjust the free shipping threshold in your store’s settings, and it’s essential to do this for each market individually.
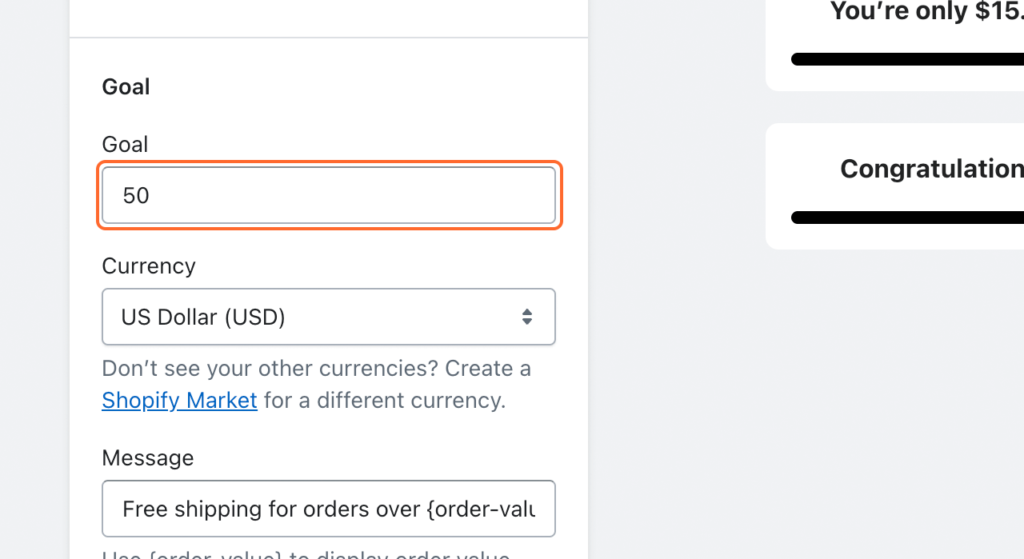
For a step-by-step guide on setting this up, please refer to the video tutorial below:
Select your free shipping bar currency
Select the currency for your free shipping bar. It will only appear on the market that uses the selected currency. If you serve multiple markets, consider creating different boosters for each currency. Keep in mind, if you’re using a third-party app for currency management and don’t see your desired currencies in the dropdown, you’ll need to add them manually.
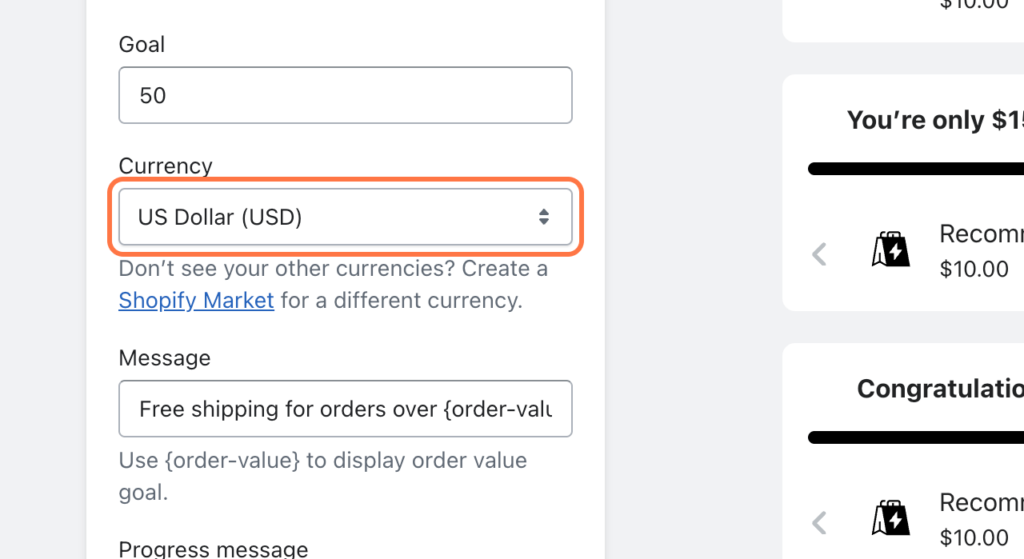
For a straightforward guide on how to add Shopify markets, just watch the video provided below. This guide will walk you through each step of the process.
Customize free shipping bar message
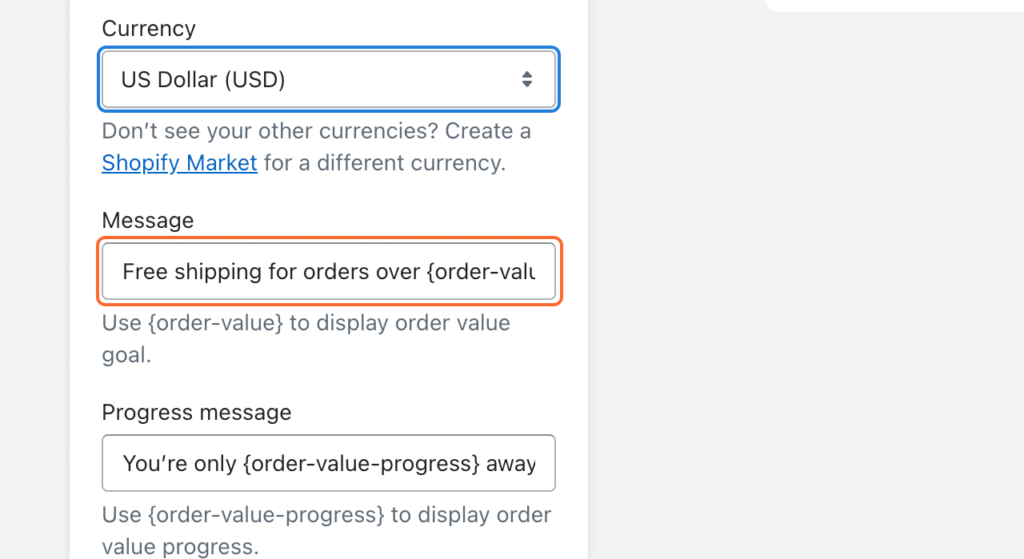
Customize various messages for different stages, like when the cart is empty, progress updates, and when the goal is reached. The curly brackets represent the dynamic order value progress, so leave them intact if you want this feature.
Add translations if needed
If you operate in multilingual markets, add translations for each message and button text.

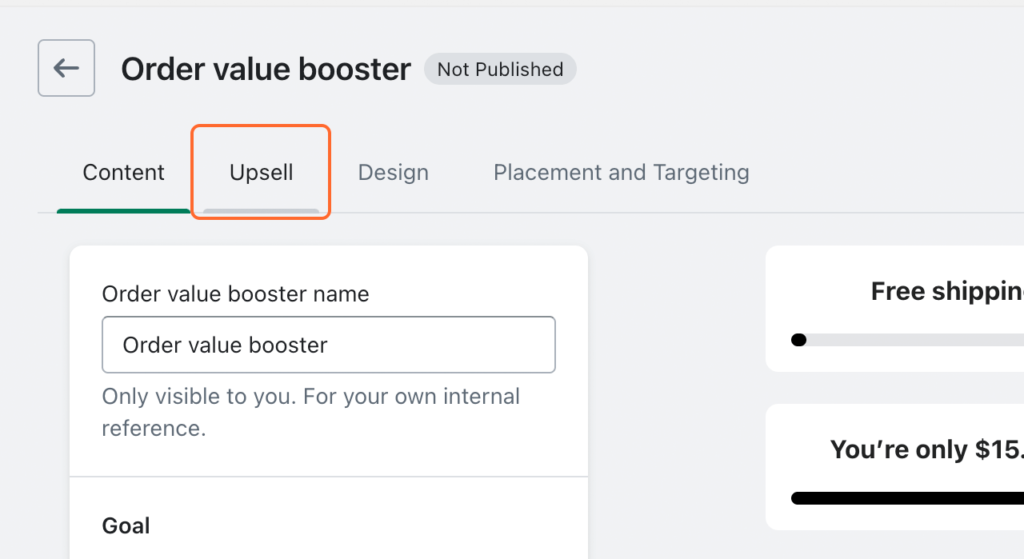
The upsell feature lets you further boost your AOV by suggesting products, making them easily addable to the cart. You can choose between ‘Frequently bought together’ based on Shopify’s recommendations, which are coming based on the order history or select specific products to upsell.
Customize your Call-to-Action (CTA) button text if you’re using the Upsell function.
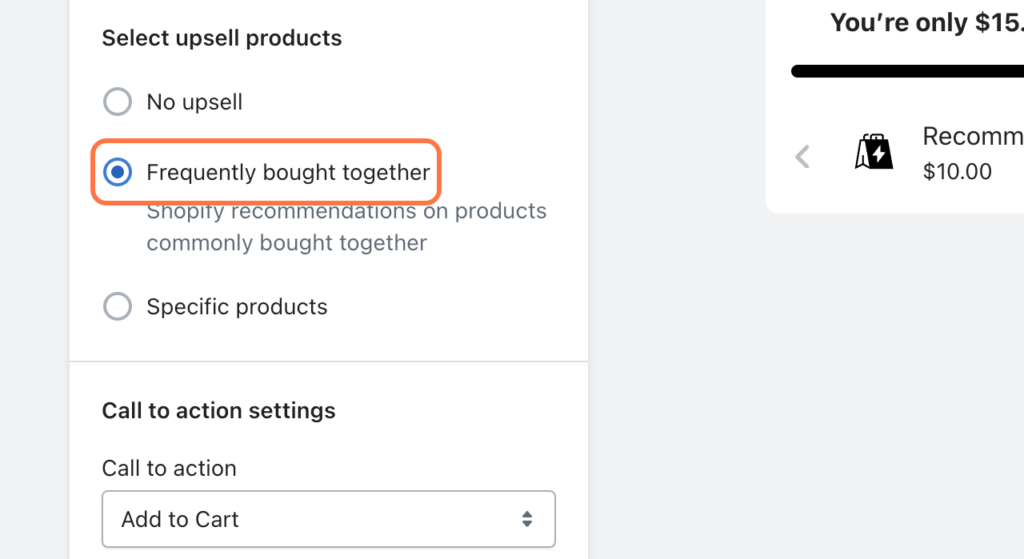
Adjust your free shipping bar design
Unleash your creativity here! Opt for one of our pre-made templates or tailor the design to match your store’s style.
Background: Choose a solid color or a gradient. If opting for a gradient, adjust the angle and colors.
Card Design: Set the corner radius for a sharp or rounded look, and adjust the borders and spacing.
Progress Bar: Customize the background and progress bar colors, and the corner radius.
Typography: Select from theme fonts or our collection. Note: Theme fonts aren’t visible in preview mode; you’ll need to publish to see them. Adjust text color and size to your preference.
Button Customization: Modify the button’s border colors, text size and color, and border radius.
Icon Color: Lastly, pick a color for the arrow icon.
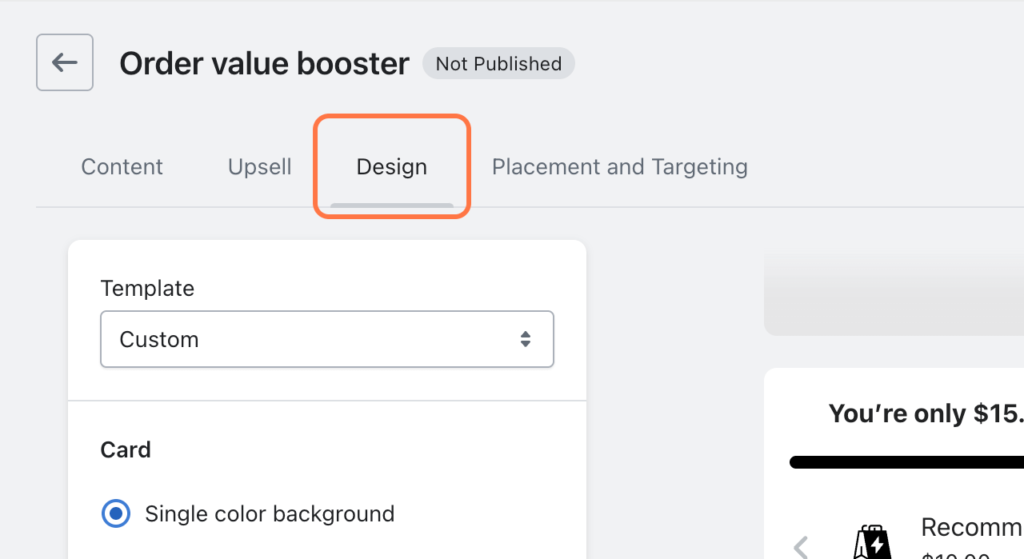
Choose your free shipping bar placement
In the ‘Placement’ section, your choices vary based on the booster type selected. For a product page booster, display it on all or specific products, or opt for a custom position using our provided snippet and booster ID. For those using Shopify themes with 2.0 architecture, adding the booster is even more straightforward. You can easily integrate it using theme blocks, simplifying the process and enhancing your store’s functionality seamlessly.
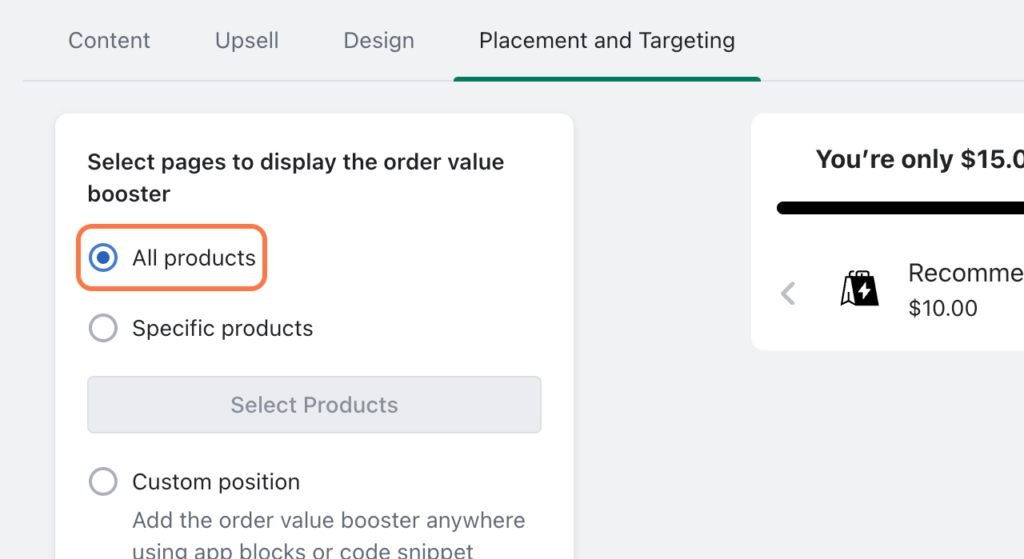
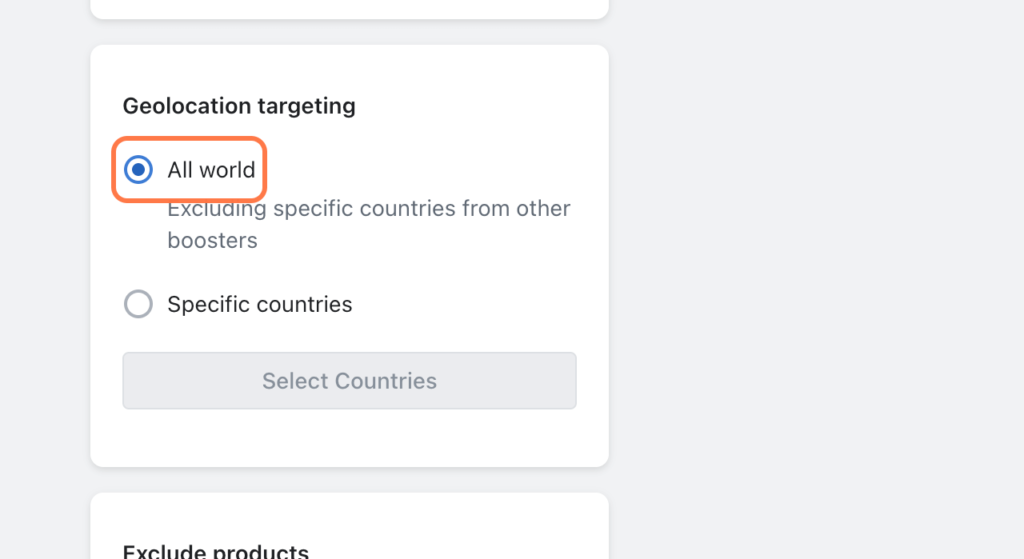
Set geolocation targeting
Geolocation targeting allows displaying the free shipping bar in certain countries, useful if you have varying free shipping goals for different markets. Important Note – When setting up your booster, pay special attention to geolocation targeting. If you create a booster specifically for a country, such as the USA, and then create another booster with the ‘All World’ option, the ‘All World’ booster will not appear in the USA. This happens because the USA was originally targeted with a specific booster.
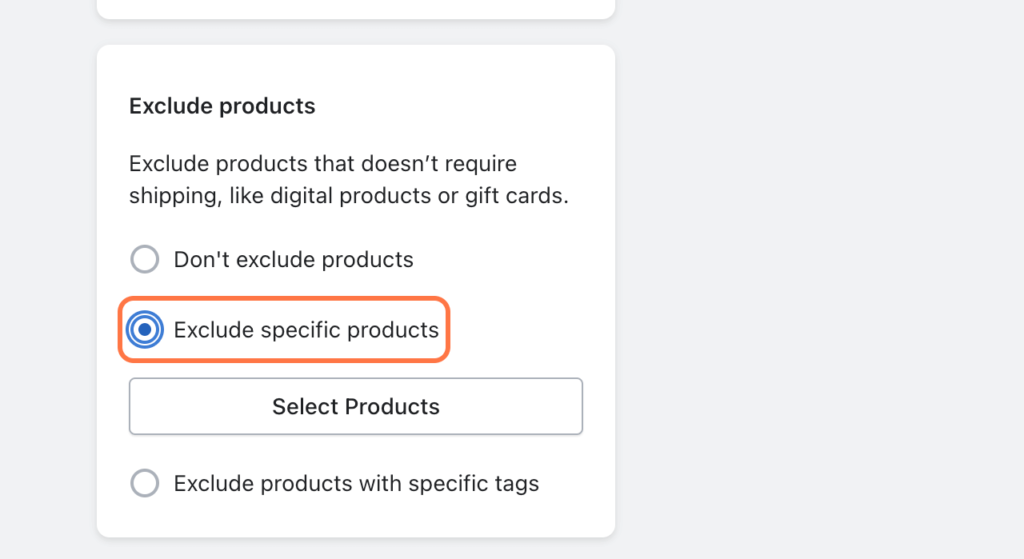
Exclude products that don’t require shipping
Lastly, use the ‘Exclude Products’ option to omit items that don’t require shipping, like digital products or gift cards. You can exclude specific products or products with specific tags.
Once everything’s set, hit ‘Publish’ and preview the booster in your store. And just like that, you’ve got a stunning free shipping bar on your Shopify store ready to increase your AOV effortlessly.
Happy boosting! If you need any assistance, want custom free shipping bar design changes or have feedback, our support team is always here to help.


