If your theme supports Shopify Online Store 2.0, using the app blocks is one of the easiest and most reliable ways to add or re-arrange your timer’s placement within the store. Continue reading to see how to add a countdown timer to Shopify store as an app block.
How to add a countdown timer to Shopify store using app blocks?
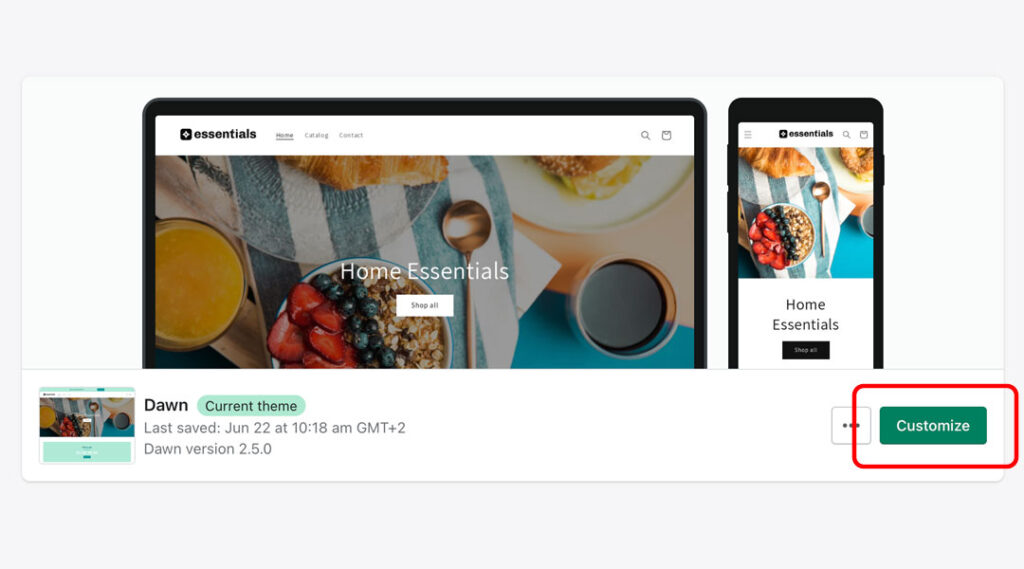
1. Select “Online Store” from the sales channels list and click “Customize” on your theme to open the theme editor.
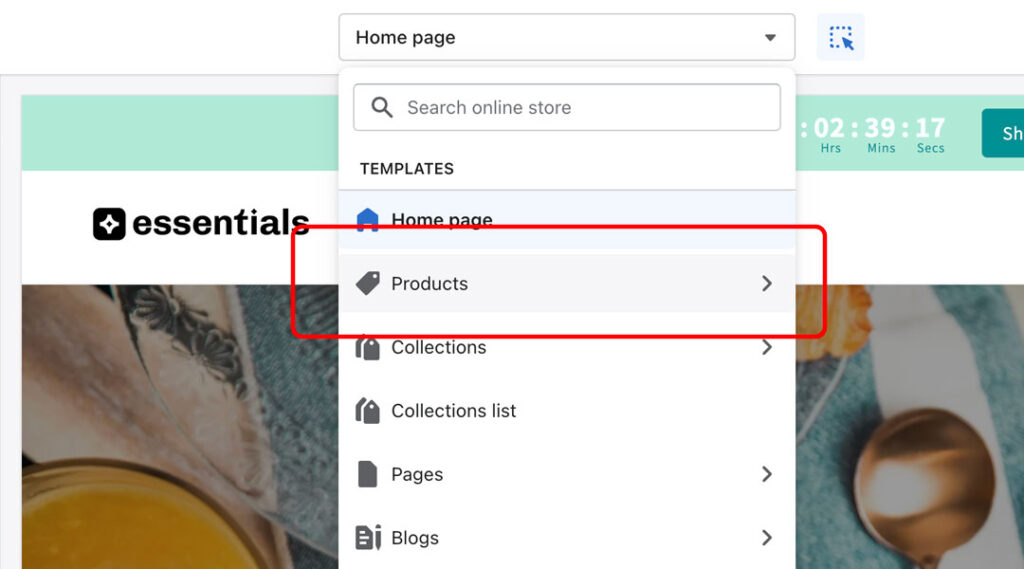
2. Navigate to your desired page using the dropdown from the top bar. In our example we’ll be adding the countdown timer to the product page. Choose “Products” and select “Default product page template”.
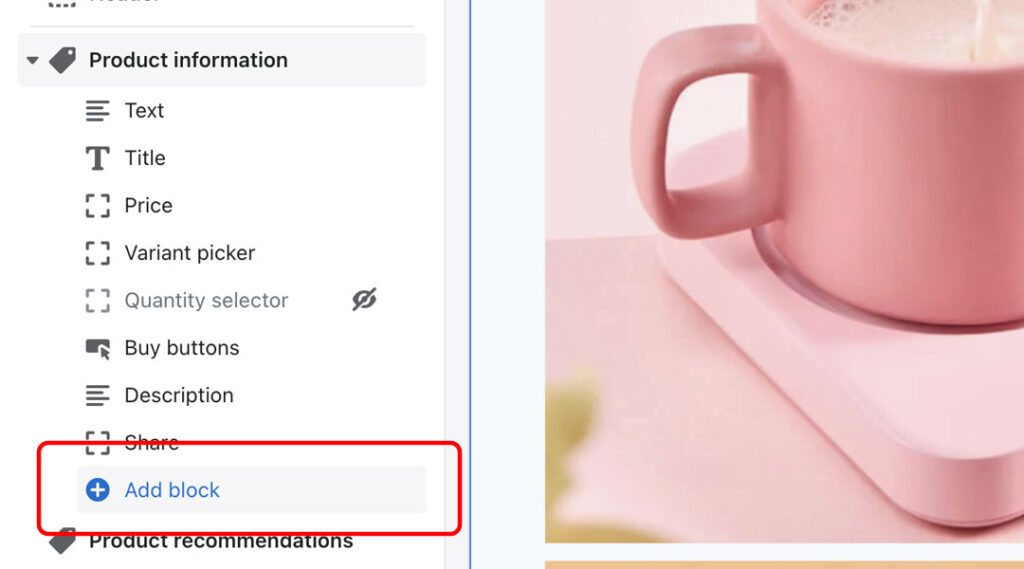
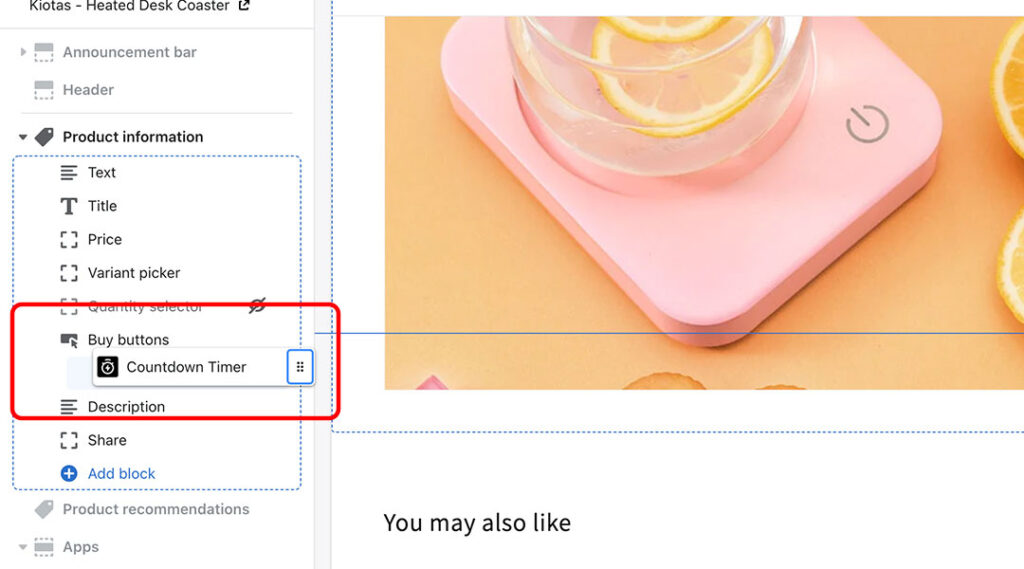
3. Add the Countdown timer as a block or as a whole section. In our example we’ll be adding the countdown below the add-to-cart button. Find “Product Information” section on the left side of your screen and click “Add block” at the bottom of it.
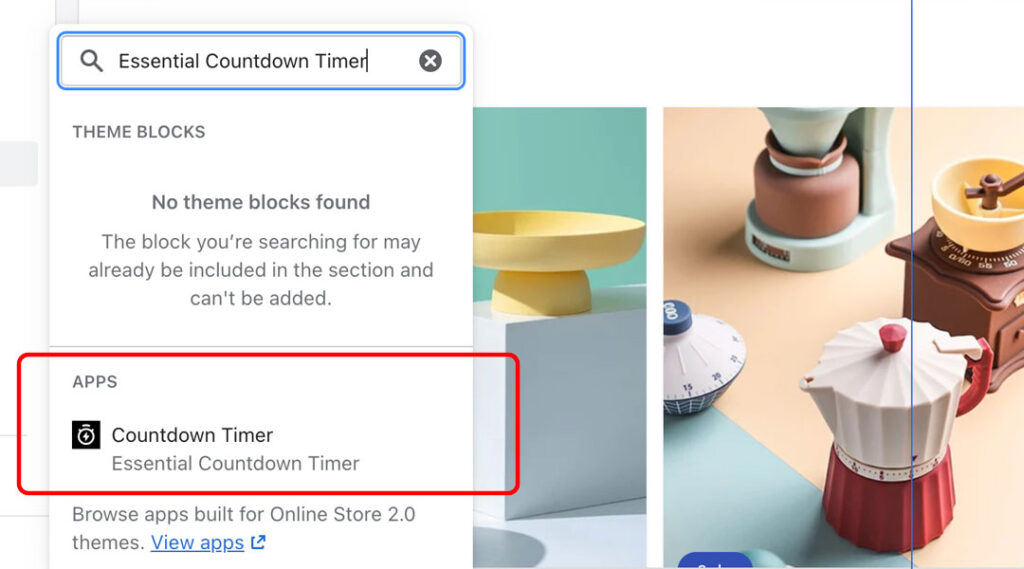
4. Search for “Essential Countdown Timer” and you should see our application. Click on it to add the block.
5. Now you should see the countdown timer app block added to your product section. Click on it. This is where you’ll need to add the ID of the timer you want to display in this position. You can find the timer ID in our application under the “Placement” tab. Copy it to the countdown app block in the theme editor you created during the previous steps.

6. If everything is done correctly and the timer is published, it should appear in your store. Feel free to rearrange it using the “6 dots” icon on the right side of the app block.
Don’t forget to save the changes you made in your theme editor.
And just like that, you have a countdown timer added to your Shopify store using Online Store 2.0 app blocks. If you run into any problems in the process, please contact the support, we’re always happy to help!


